- FAQ

Domains
SSL certificates
Payments
Emails
FTP
Databases
Backups
Websites
How to Install and Access ISPConfig
ISPConfig is available for Debian and Ubuntu on our VPS1024 and VPS2048 plans. Find out more.
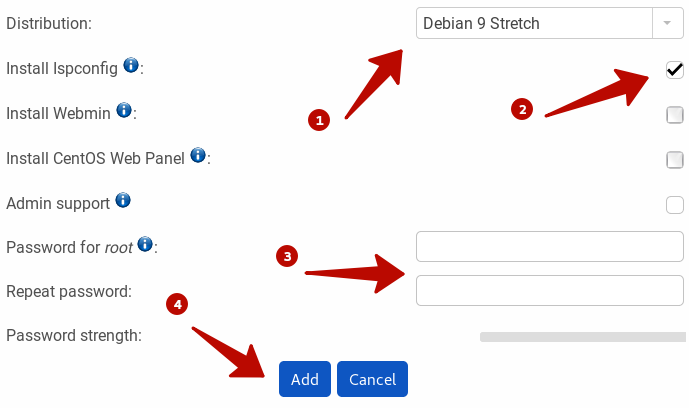
At the moment of setting up our Virtual Private Server (VPS), we can also install ISPConfig. After making sure you have choosen the right VPS Plan, follow these steps:
- Select Debian or Ubuntu Operative System from the drowpdown list.
- Check the box to Install ISPConfig.
- Create a strong password for your VPS.
- Click on "ADD" to finish.

Access ISPConfig
Once our VPS has been created, we can access ISPConfig from the assigned IP.

It's easy, just follow the instructions below to enter the right URL on your browser.
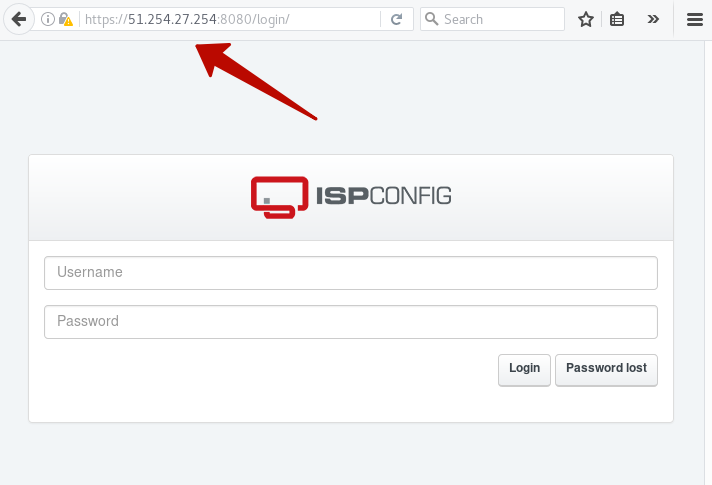
1. ISPConfig will be available using https in the TCP port 8080 in combination with your assigned IP. Example: https://ASSIGNED-IP:8080.
2. Fill the Username with admin and enter the password you created for the VPS.
3. Press the login button.

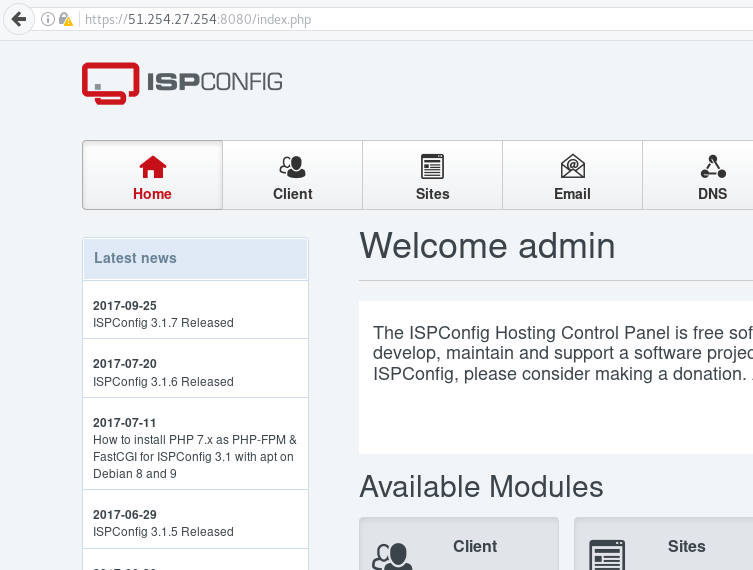
Now we can use ISPConfig in our VPS.

 Hosting protected by Avast software